1. Introduction
Choosing your first embroidery machine can feel like wandering a maze of brands, features, and price tags. If you’re hunting for the best embroidery machine for beginners, it’s natural to wonder what truly matters, what fits your budget, and what won’t overwhelm you. This guide cuts through the noise with clear picks, must‑have features, and practical tips so you can start stitching with confidence—whether you’re personalizing towels or building a small side hustle.
Table of Contents
- 1. Introduction
- 2. Top 3 Beginner-Friendly Embroidery Machines
- 3. 5 Must-Have Features for Your First Machine
- 4. Embroidery-Only vs. Combo Machines: Choosing Your Path
- 5. Balancing Budget and Long-Term Value
- 6. Learning Resources and First Project Walkthrough
- 7. Conclusion
- 8. Frequently Asked Questions (FAQ)
2. Top 3 Beginner-Friendly Embroidery Machines
Let’s highlight three models that balance simplicity, value, and room to grow—so you spend time creating, not troubleshooting.
2.1 Brother PE535: Best Budget Embroidery-Only Machine
If embroidery is your focus, the Brother PE535 is a straightforward, affordable entry point (around $450).
- 4" x 4" Embroidery Area: Ideal for patches, monograms, and baby gifts.
- 80 Built-In Designs & 9 Fonts: Start creating right away.
- USB Import Capability: Bring in your own designs as you learn.
- 3.2" Color LCD Touchscreen: Preview and edit on the machine.
- Quick-Set Bobbin System: Reduces setup friction.
Why beginners like it: An intuitive interface and clear on-screen guidance make first stitches feel easy. It’s embroidery-only, which keeps the ramp-up simple and the price accessible.
Considerations: The 4" x 4" hoop is limiting for larger designs, but it’s great for mastering basics.
2.2 Brother SE600: Best Sewing & Embroidery Combo
Want flexibility? The Brother SE600 combines sewing and embroidery without a steep price (typically around $550).
- 4" x 4" Embroidery Field
- 80 Built-In Embroidery Designs & 9 Fonts
- 103 Sewing Stitches
- Automatic Needle Threader
- Drop-In Bobbin System
- USB Port
- 3.2" LCD Touchscreen
Why beginners like it: Switching between sewing and embroidery is straightforward, and the instructions are clear.
Considerations: Like the PE535, it uses a 4" x 4" hoop; larger designs require rehooping.
2.3 Brother PE800: Best for Growth to Intermediate Projects
Ready for more space and features? The Brother PE800 steps up with a larger field and expanded design library (priced under $1,500).
- 5" x 7" Embroidery Area: Great for totes, jacket backs, and home décor.
- 138 Built-In Designs & 11 Fonts
- Color Touch LCD Screen
- USB Connectivity
- 10 Frame Shapes
Why beginners like it: The larger hoop reduces limitations as you advance, while the interface remains approachable.
Considerations: It’s embroidery-only, and the higher price reflects its expanded capabilities.
3. 5 Must-Have Features for Your First Machine
3.1 Built-in Designs & USB Import Capability
Why it matters: Built-ins let you start immediately and practice techniques without sourcing files. USB import keeps your machine relevant as your skills grow.
How the top models compare:
- Brother PE535 & SE600: 80 designs, 9 fonts, plus USB import.
- Brother PE800: 138 designs, 11 fonts, plus USB connectivity.
Pro tip: Start with built-ins, then layer in custom designs via USB as your confidence increases.
3.2 Automatic Functions: Threading, Tension, and Hooping
Why it matters: Automatic helpers prevent frustration and keep you focused on creativity.
- Auto-threading: The SE600 and higher-end models include automatic needle threaders.
- Tension: Consistent, automatic tension helps prevent puckering and thread breaks.
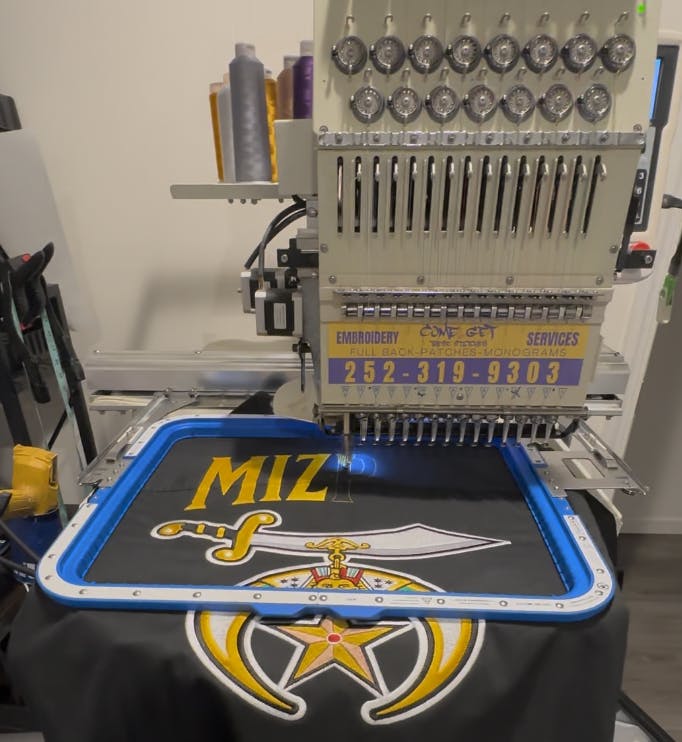
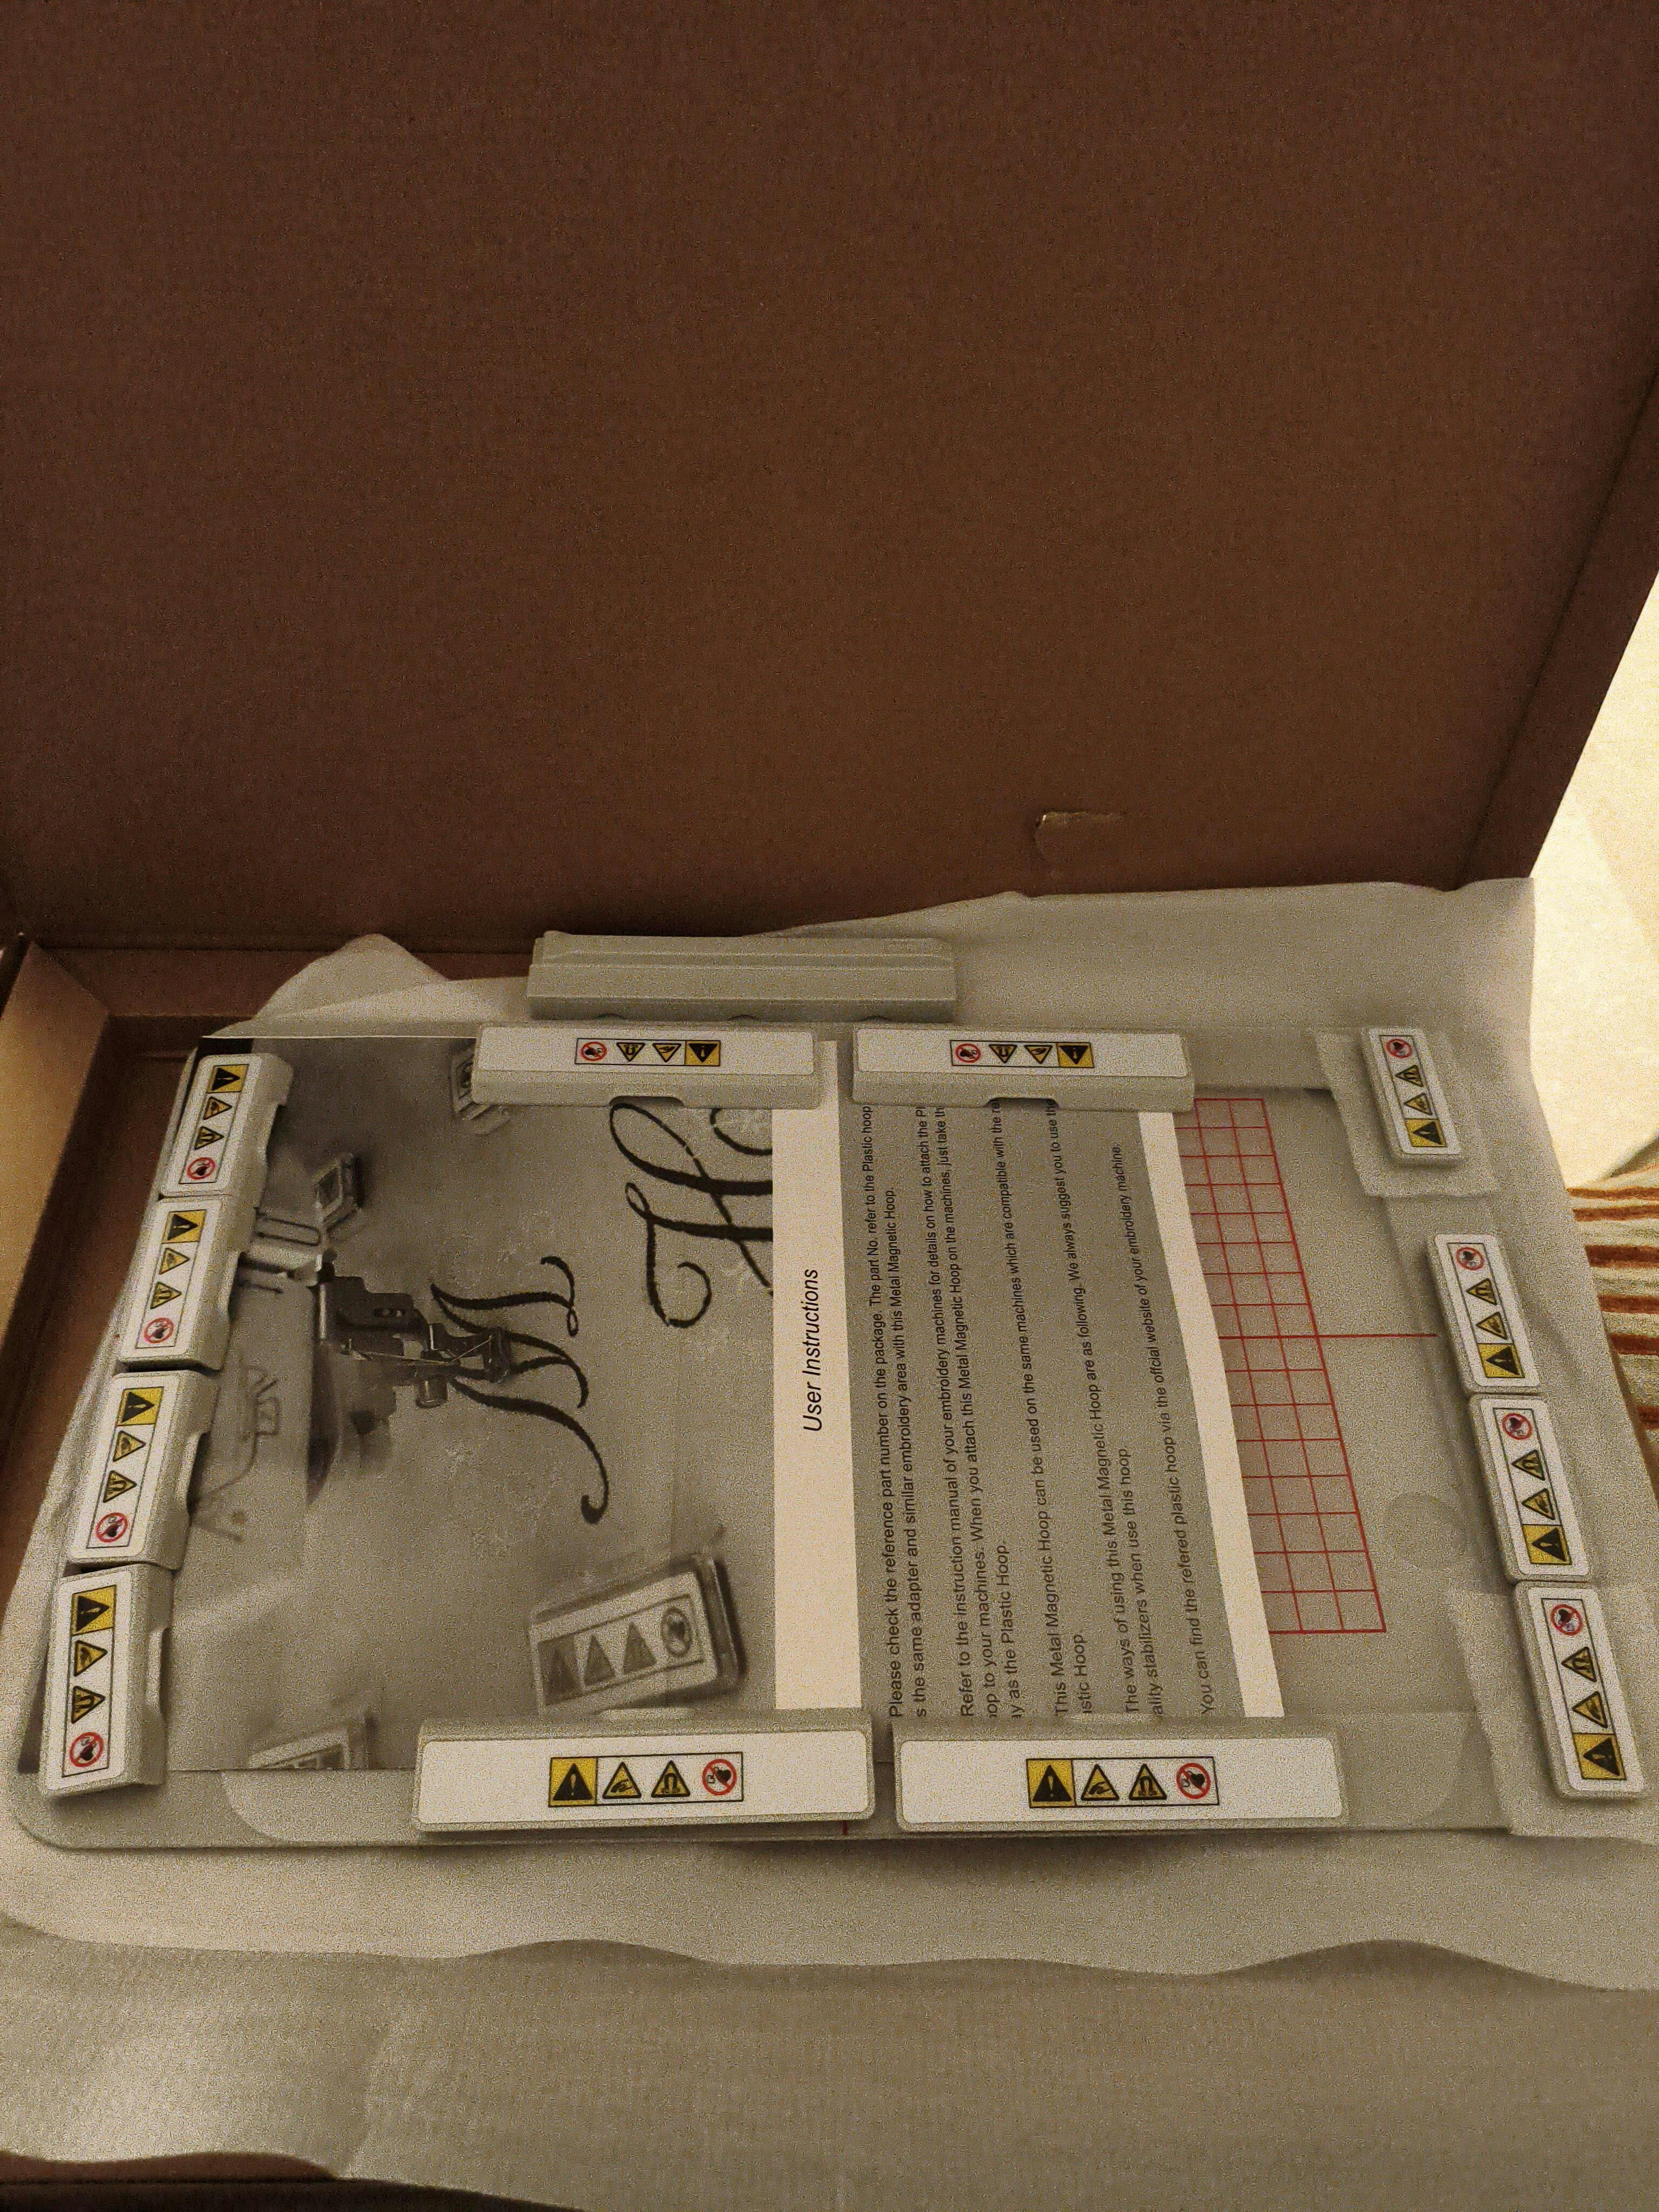
- Hooping: Traditional hoops can be finicky. magnetic embroidery hoops, like those from Sewtalent, offer an easy, even hold—especially helpful on thick or delicate fabrics. Users praise their strong grip, simple operation, and adaptability across fabric thicknesses.
3.3 Hoop Size Flexibility (4x4" vs. 5x7")
Why it matters: Hoop size dictates maximum design area in a single run.
- 4x4": Name patches, baby bibs, small accents.
- 5x7": Larger appliqués, home décor, multi-element designs.
Beginner tip: Start at 4x4" to learn, then consider stepping up to a 5x7" model (like the Brother PE800) as your projects expand.
4. Embroidery-Only vs. Combo Machines: Choosing Your Path
4.1 Pros and Cons of Dedicated Embroidery Machines
Pros (e.g., Brother PE535, PE800):
- Simplicity and focus: Streamlined interfaces make learning easier.
- Larger fields at entry level: Models like the PE800 offer 5" x 7" hoops.
- Specialized embroidery features and editing tools.
Cons:
- No sewing capability: You’ll need a separate sewing machine.
- Less versatile if you plan to sew garments or do repairs.
Real-world example: The PE535 is beloved for affordability and simplicity; the PE800 suits bigger, more advanced projects.
4.2 When a Combo Machine Makes Sense
embroidery sewing machine combo units are compact multitaskers—perfect if you need to sew and embroider in one footprint.
When it makes sense:
- Space constraints
- Budget efficiency versus buying two machines
- Multi‑craft flexibility
Workflow example: The Brother SE600 offers 103 sewing stitches, 80 embroidery designs, a 4" x 4" field, an automatic needle threader, a drop‑in bobbin, and a color touchscreen for guided use.
Downsides:
- You can’t sew and embroider at the same time.
- Many entry-level combos cap at 4" x 4".
4.3 Decision Checklist Based on Your Goals
| Your Goal | Best Choice |
|---|---|
| Focused learning on embroidery only | Embroidery-only (e.g., Brother PE535) |
| Want to sew and embroider | Combo machine (e.g., Brother SE600) |
| Need larger embroidery designs | Embroidery-only with bigger hoop (PE800) |
| Limited space and budget | Combo machine |
| Plan to scale up to advanced projects | Embroidery-only, larger hoop |
5. Balancing Budget and Long-Term Value
5.1 Best Machines Under $500
If you’re watching costs, here’s how popular beginner models compare:
| Model | Price | Type | Embroidery Area | Built-In Designs | Key Features |
|---|---|---|---|---|---|
| Brother PE535 | ~$459 | Embroidery-only | 4" x 4" | 80 | USB import, color touchscreen |
| Brother SE600 | ~$560 | Combo | 4" x 4" | 80 | 103 sewing stitches, USB port |
| Brother LB5500 | Not stated | Combo | 4" x 4" | 135 | Wireless design transfer |
Key takeaways:
- Brother PE535: Lowest entry cost, lightweight, portable.
- Brother SE600: Often discounted; versatile combo with intuitive controls.
- Brother LB5500: Wireless transfers via app; setup may require patience.
Watch out: Sub-$300 options can be too limiting. Stick with reputable brands like Brother or explore a used embroidery machine for sale when budgeting.
5.2 Durability Insights: Brother vs. Janome
| Brand | Durability | Maintenance Frequency | Warranty | Repair Costs | Beginner Models |
|---|---|---|---|---|---|
| Brother | High | Annual servicing | 1–2 years | Moderate | PE800, SE2000 |
| Janome | High | Annual servicing | 1–2 years | Moderate | Memory Craft 500E, MB-7 |
- Brother: Intuitive interfaces and moderate repair costs.
- Janome: Rugged builds and expansive design libraries.
Pro tip: Follow servicing guidelines and avoid long idle periods.
5.3 ROI Calculation for Beginners
Hooping is a major time sink. Switching from screw-based frames to magnetic hoops for embroidery machines can transform workflow—Sewtalent’s magnetic hoops are noted for reducing hooping time by up to 90%, improving consistency, and lowering defects.
How Sewtalent hoops boost ROI:
- Time savings: From ~3 minutes per garment to ~30 seconds
- Lower labor costs: Hours saved each week
- Fewer mistakes: Even tension and secure placement
- Longer lifespan: Premium PPSU engineering plastic and high-strength magnets last up to 40x longer
Bottom line: While the upfront cost is higher, many users recoup the investment in as little as six months.
6. Learning Resources and First Project Walkthrough
6.1 Free Tutorials: From Brother Guides to YouTube
Where to start:
- Manufacturer manuals: Brother and Janome include step-by-step guides and on-screen help.
- SewCanShe tutorials: Beginner-friendly walkthroughs on stabilizers and thread choices.
- YouTube: Search model-specific guides (e.g., "Brother PE535 tutorial").
- Forums and maker communities: Great for troubleshooting and project inspiration.
Pro tip: Many machines support USB or wireless transfers, so you can try patterns from marketplaces and designer sites.
6.2 Step-by-Step: Your First Tea Towel Embellishment
Step 1: Unbox and set up
- Attach the embroidery unit and switch to the embroidery presser foot.
Step 2: Prepare your fabric
- Choose a plain tea towel and stabilizer (tear-away for cotton, cut-away for knits).
- Hoop fabric and stabilizer together. For best results, use machine embroidery hoops; a magnetic hoop like Sewtalent’s helps maintain even tension and prevent puckering on tricky fabrics.
Step 3: Select your design
- Load a built-in design or import via USB, then preview and position on the color touchscreen.
Step 4: Thread the machine
- Follow on-screen threading and use quality embroidery thread with a suitable needle (75/11 is a good start).
Step 5: Start stitching
- Lower the presser foot and begin. Follow prompts for color changes.
Step 6: Finish up
- Remove the hoop, trim threads, and remove stabilizer.
Common pitfalls:
- Thread breaks: Recheck tension and rethread.
- Fabric puckering: Use the right stabilizer and ensure even hoop tension.
- Misalignment: Verify hoop placement and use on-screen reference lines.
Next steps: Keep experimenting with fabrics and custom designs, and lean on community support.
7. Conclusion
Understanding embroidery machine price factors helps you choose wisely. Starter models like the Brother PE535 and SE600 balance ease, value, and reliability. Prioritize features that reduce frustration—USB import, automatic needle threader, and consistent tension—then build skills with tutorials, forums, and small projects. Every expert started with a first stitch.
8. Frequently Asked Questions (FAQ)
8.1 Q: Can I embroider hats with beginner machines?
A: Entry-level machines with 4" x 4" hoops are best for flat items. Cap embroidery can be tricky due to curved surfaces and limited area. Look for cap-specific accessories and expect a learning curve.
8.2 Q: Do I need digitizing software to start?
A: Not necessarily. Built-in designs and USB imports are enough to begin. To create original artwork from scratch, you’ll need a digitizing program for embroidery machines.
8.3 Q: How often should I service my machine?
A: Most makers recommend annual servicing. In between, keep the machine clean, change needles regularly, and follow your manual’s care guidelines.
8.4 Q: Can beginner machines handle different fabrics?
A: Yes—cotton, linen, denim, and canvas are common. Success depends on using the right stabilizer and needle for the material. Always test on scraps first.
8.5 Q: Is embroidery hard to learn if I’ve never sewn before?
A: Modern machines are approachable with clear instructions and plenty of tutorials. Start small, be patient, and ask questions—the learning curve is manageable.
Muy contenta con mis nuevos bastidores. Además, me gustaría hacer una mención especial a la atención al cliente, tuve algunos problemas con el envío y Olivia fue muy atenta y me ayudó durante el proceso.
They were great@ They were able to get me on the right track. They were attentive and a great help! I am ready to start with my new hoops. I like the fact that they are somewhat freearm.
Cant wait to my pockets allows me to order more for our business